This article assumes that you know the basics of TCP/IP configuration: IP address, subnet mask, default gateway and DNS server addresses.
In Dynamics 365 for Finance and Operations you have two choices when you're developing applications:
1. You can create a development Virtual Machine in Azure via Lifecycle Services (LCS).
2. You can download a development VHD image from LCS and install a local one box instance using Hyper-V.
Obviously choice #1 is going to generate costs that can start anywhere from 150 USD per month. I've also found that Azure VMs are somewhat slower than their locally installed counterparts. And it's all because the disks are located elsewhere in the Azure datacenter and not physically inside the machine you're using to compute. That's why in Azure VMs the development machines have everything split up between different logical disks (disk stripping) to improve performance.
So many developers opt for choice #2.
But having a locally deployed D365 one box comes with some disadvantages, one of them is that it isn't visible to the world wide web. It isn't even visible in your local network. Connecting other devices like tablets can be difficult, if not impossible, without using a DNS server.
Luckily the downloadable VHDs come with a trial version of Windows Server 2016 Datacenter edition and you can install a DNS server on it. Getting it up and running is not very hard. Believe me it's way easier than trying to jailbreak an iPad tablet to modify the hosts file. I've been down that road and it's incredibly frustrating.
And while we're on the topic of the hosts file, every operating system has a hosts file. It's like a mini DNS server: it maps IP addresses to a more human readable form. The local D365 one box instance has a hosts file with these contents:
# Copyright (c) 1993-2009 Microsoft Corp.
#
# This is a sample HOSTS file used by Microsoft TCP/IP for Windows.
#
# This file contains the mappings of IP addresses to host names. Each
# entry should be kept on an individual line. The IP address should
# be placed in the first column followed by the corresponding host name.
# The IP address and the host name should be separated by at least one
# space.
#
# Additionally, comments (such as these) may be inserted on individual
# lines or following the machine name denoted by a '#' symbol.
#
# For example:
#
#      102.54.94.97     rhino.acme.com          # source server
#       38.25.63.10     x.acme.com              # x client host
# localhost name resolution is handled within DNS itself.
#    127.0.0.1       localhost
#    ::1             localhost
127.0.0.1    usnconeboxax1aos.cloud.onebox.dynamics.com
127.0.0.1 usncax1ret.cloud.onebox.dynamics.com
127.0.0.1 usnconeboxax1ret.cloud.onebox.dynamics.com
127.0.0.1 usnconeboxax1pos.cloud.onebox.dynamics.com
127.0.0.1 usnconeboxax1ecom.cloud.onebox.dynamics.com
127.0.0.1 usncax1ecom.cloud.onebox.dynamics.com
127.0.0.1 usncax1pos.cloud.onebox.dynamics.com
127.0.0.1 retailhardwarestation.cloud.onebox.dynamics.com
127.0.0.1 usnconeboxax1ret.cloud.onebox.dynamics.com
127.0.0.1 usnconeboxax1pos.cloud.onebox.dynamics.com
127.0.0.1 usnconeboxax1ecom.cloud.onebox.dynamics.com
As you can see the hosts file has the usnconeboxax1aos.cloud.onebox.dynamics.com to 127.0.0.1 (loop back address) mapping. We always use this address to connect to our local D365 environment when using a browser or when we are running a debug session within Visual Studio.
You can find the hosts file in the "C:\Windows\System32\drivers\etc" directory.
Before we start configuring the DNS server you must make sure that your VM has a fixed IP address, it makes no sense to install a DNS server on a DHCP IP address (an IP address that can change).
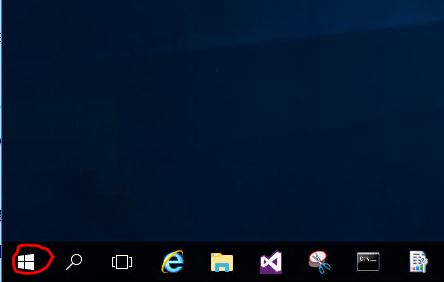
Click on the windows logo in the bottom left hand corner:
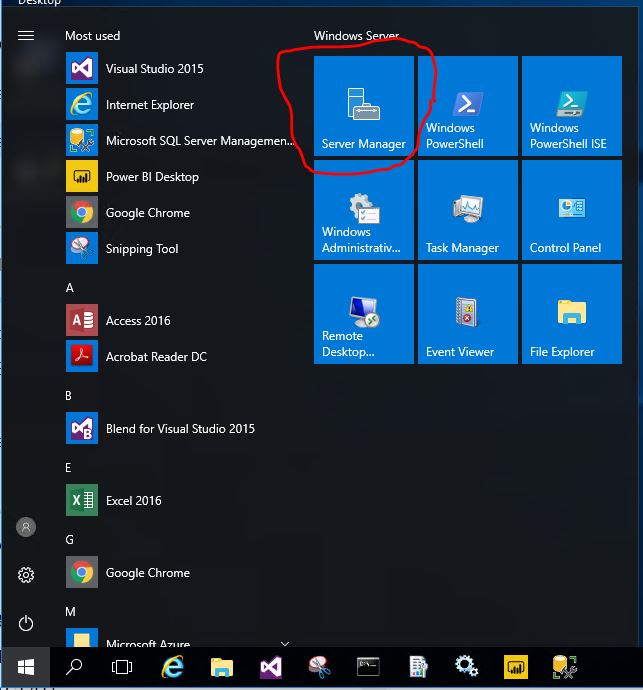
And then click on Server Manager:
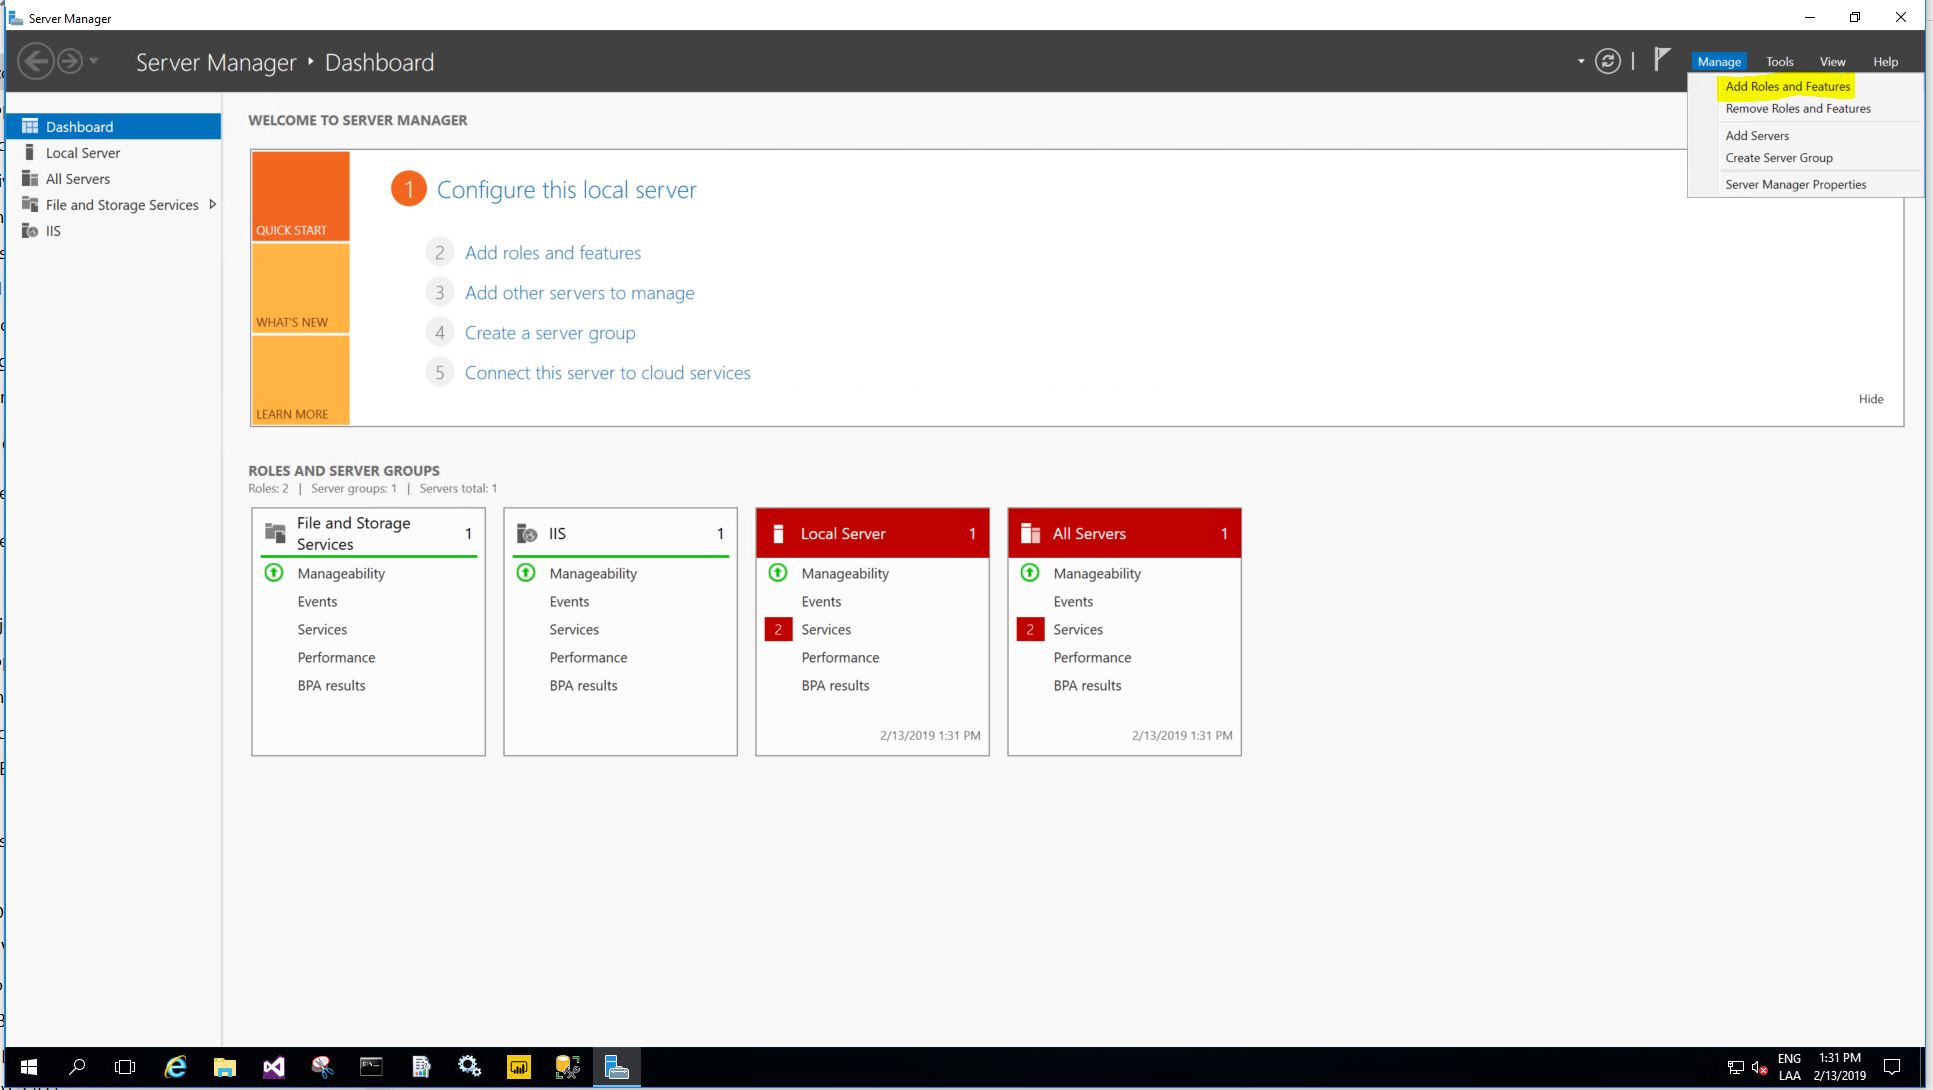
Once you're in server manager, click on manage -> Add Roles and Features.
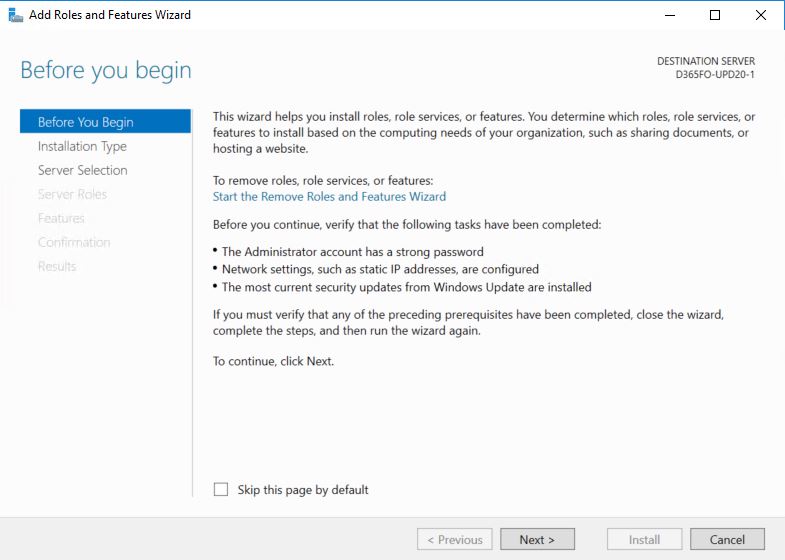
Click on the Next button.
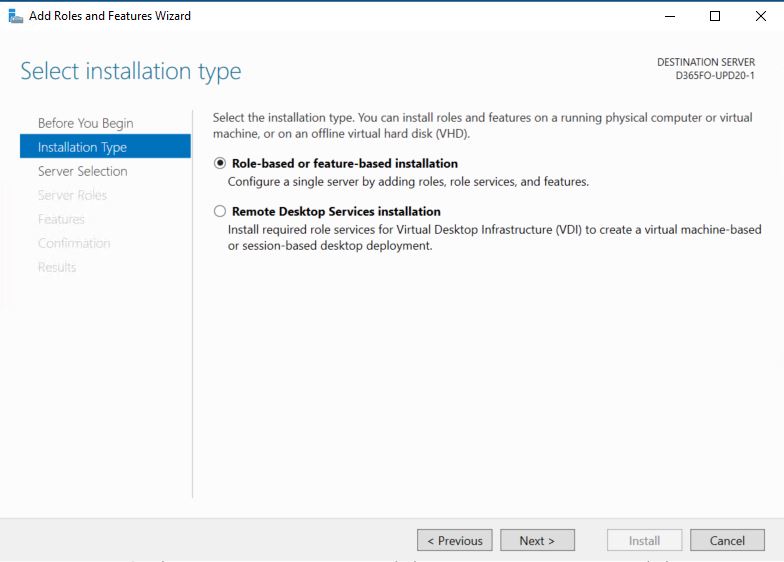
Select "Role-based or feature-based installation" and click on the Next button.
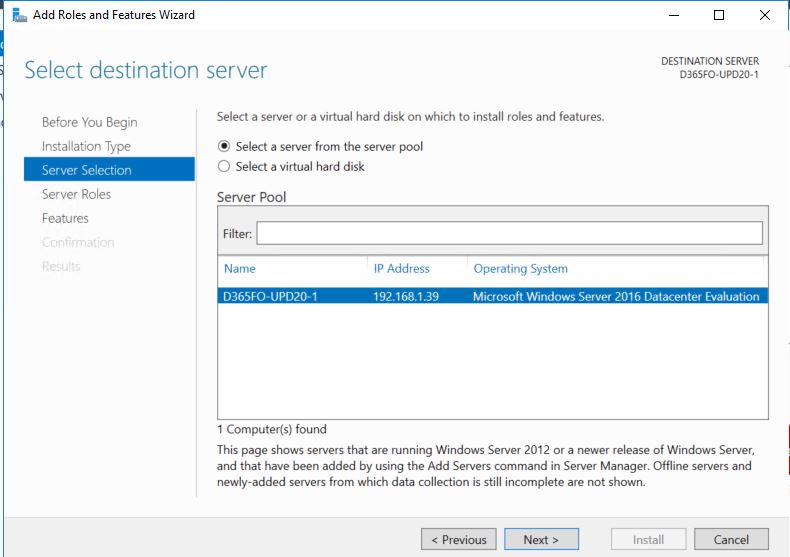
Select your server (should be the only option) and click on the next button.
Click on the DNS Server checkbox:
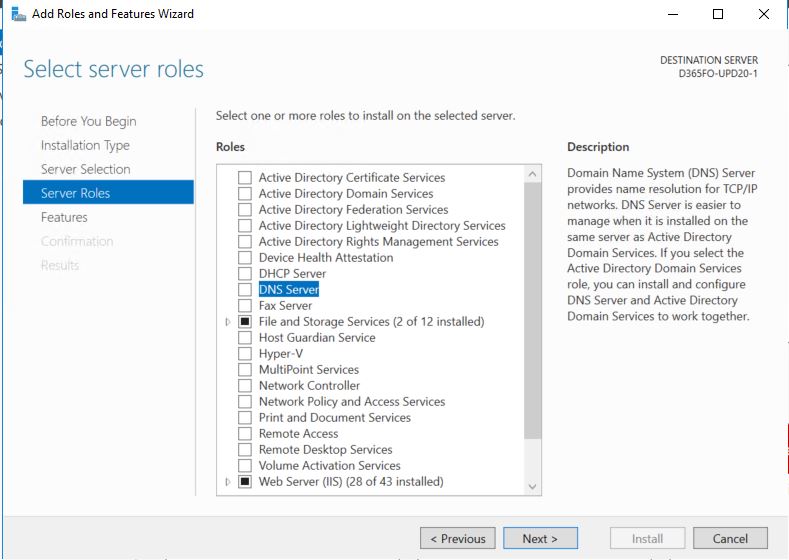
You will get this prompt:
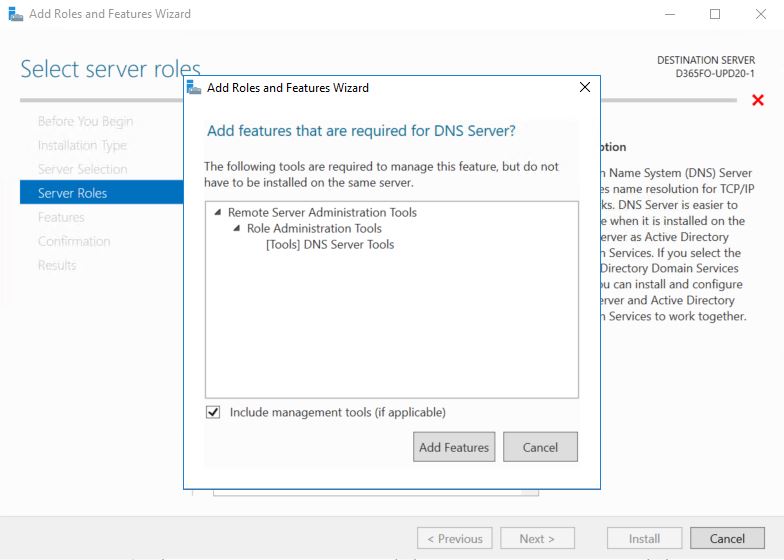
Click on add features, then click on the Next button.
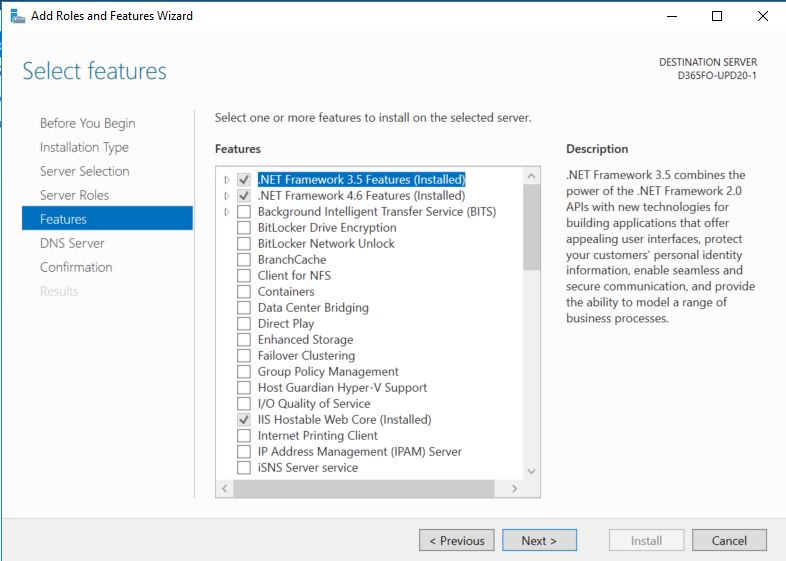
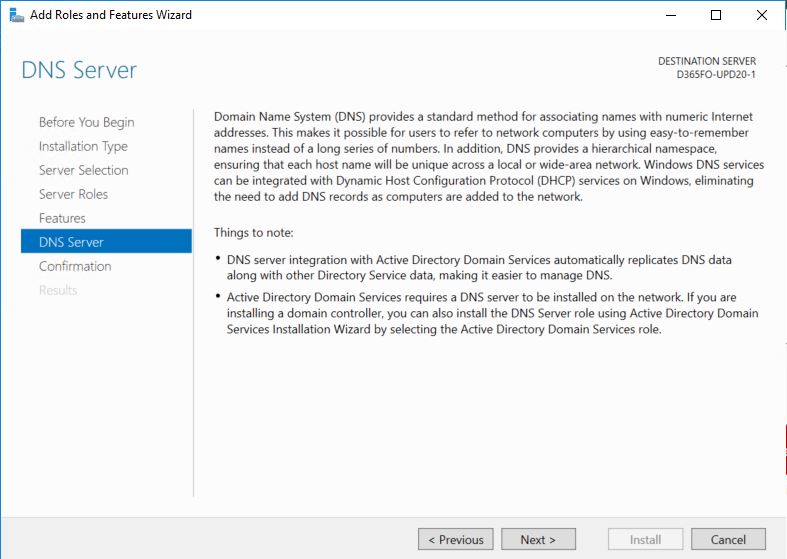
Click on the next button.
Finally click on the Install button, you might want to check the "Restart the destination server automatically if required" check box.
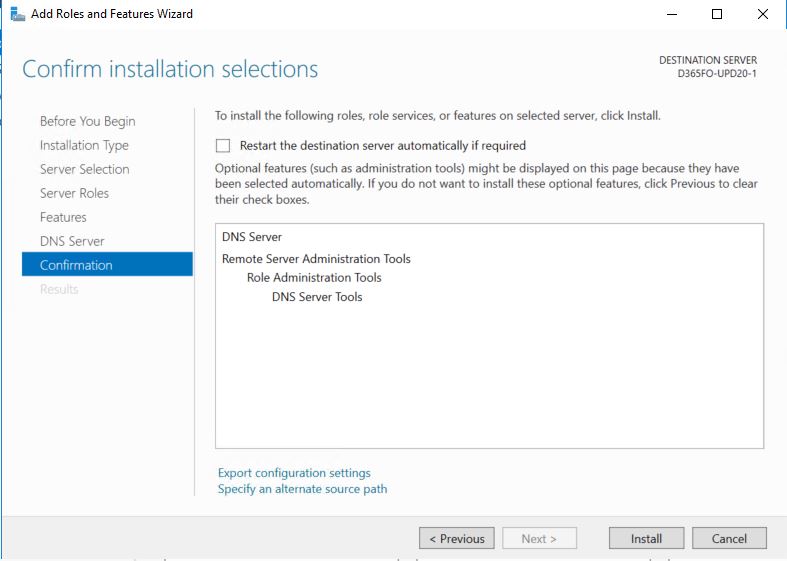
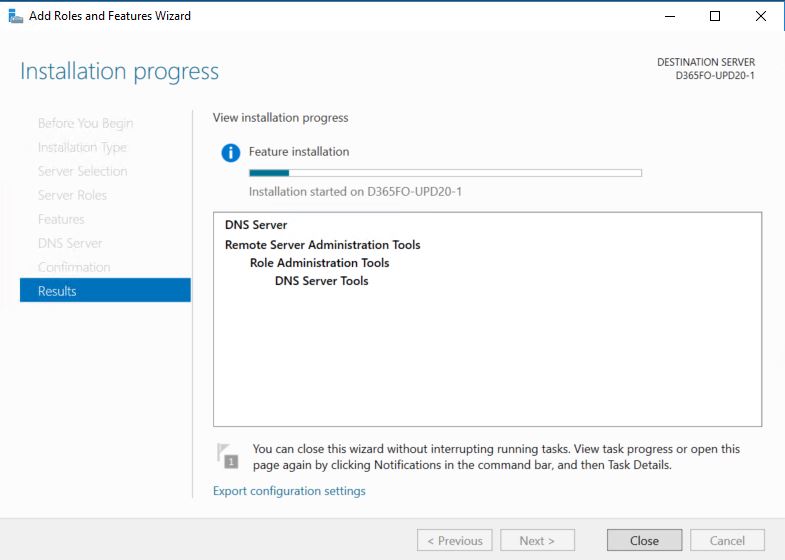
The features will begin to be installed.
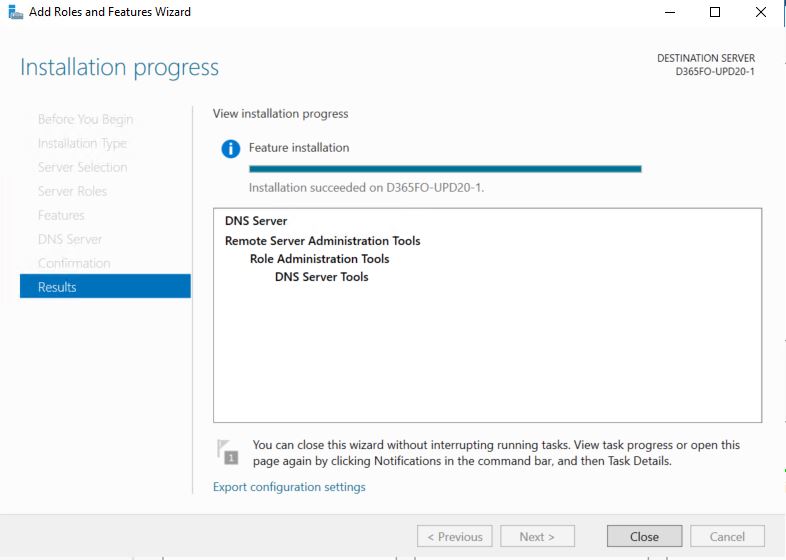
Once you're finished click on the Close button.
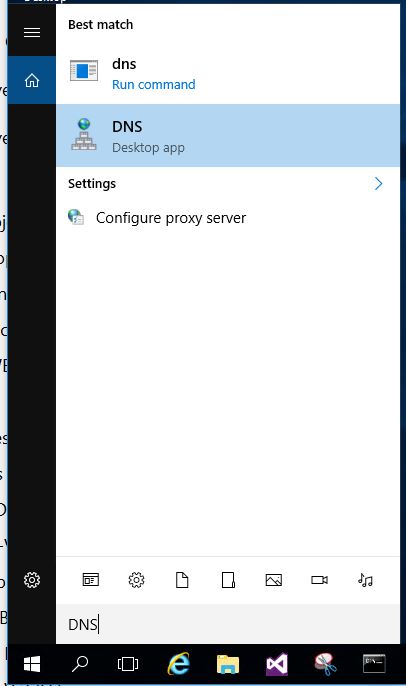
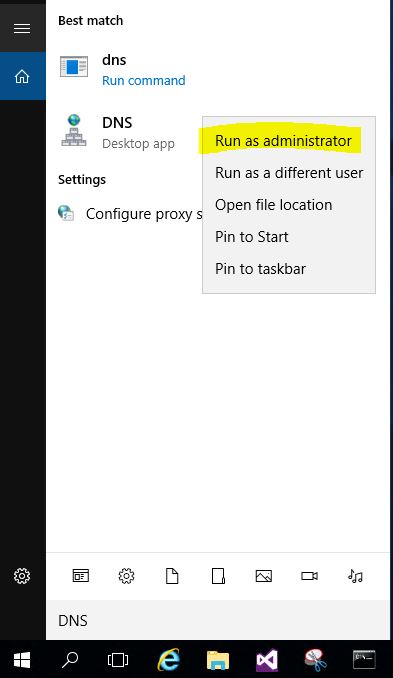
Now that the DNS server is installed on your machine we must get it configured. Open the Cortana search box on your lower left corner and type DNS.
Right click on the DNS application and select Run as Administrator.
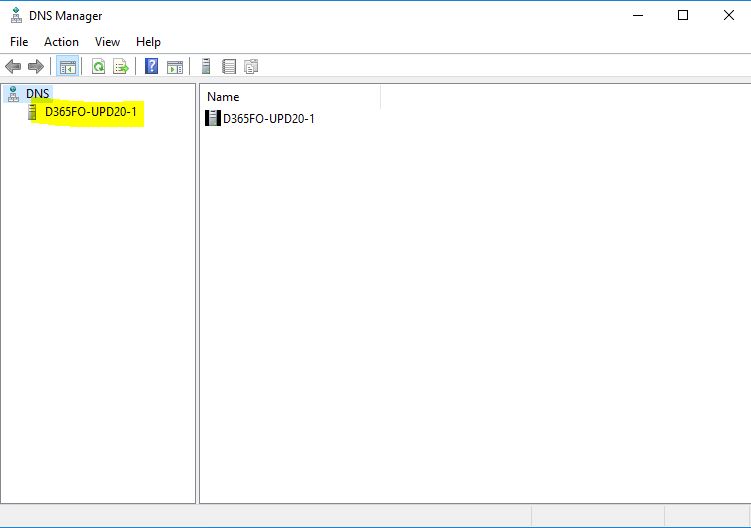
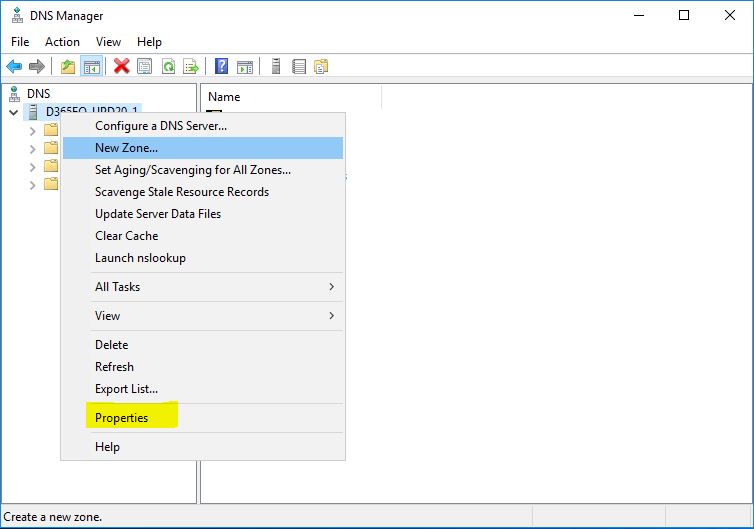
Right click on the machine name and select properties.
Select the Forwarders tab.
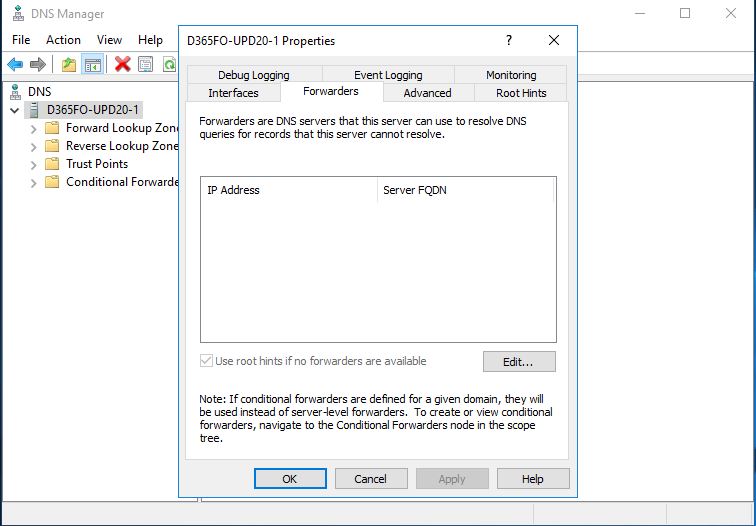
When the DNS server on this VM does not know how to resolve a name, for example microsoft.com, it will query another DNS server. You can use the DNS server that your internet service provider gives you by executing an ipconfig /all in a command prompt or you can use the google DNS servers IP 8.8.8.8 for primary and IP 8.8.4.4 for secondary. Or you can also google free and public DNS servers.
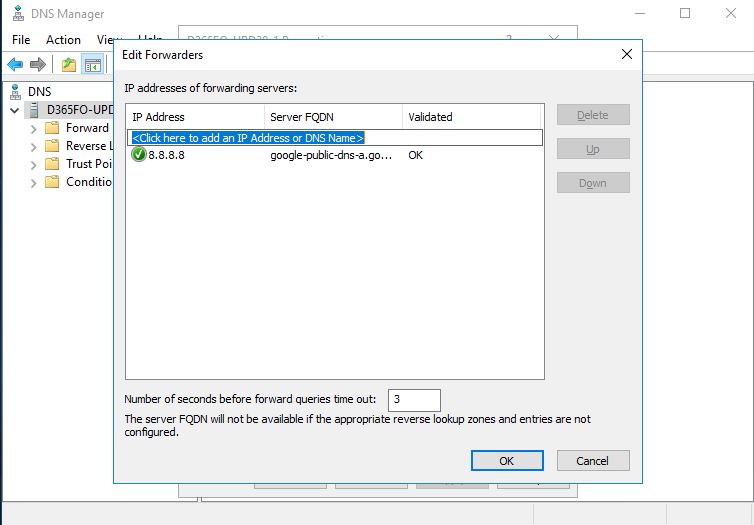
Enter at least 1 forwarder.
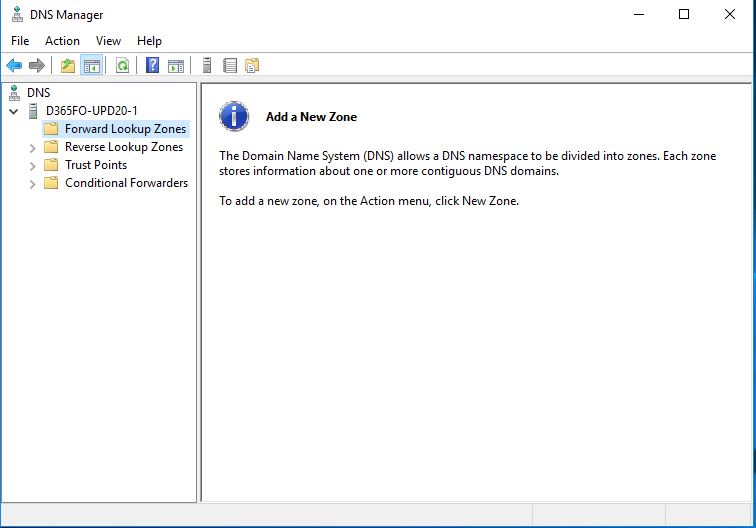
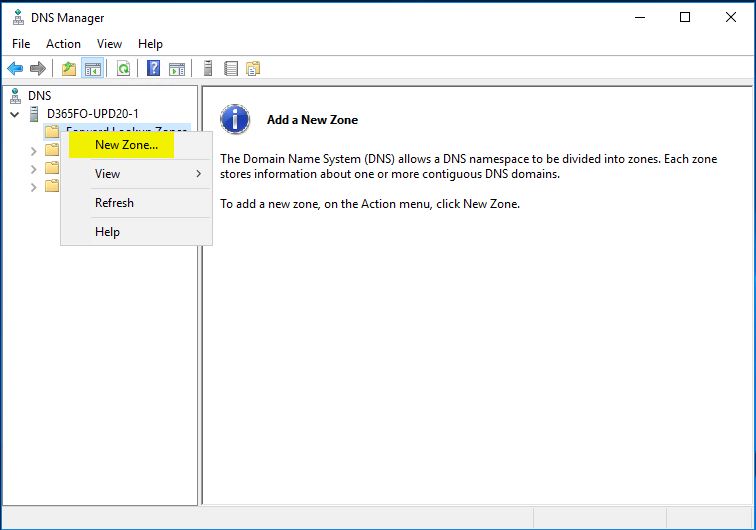
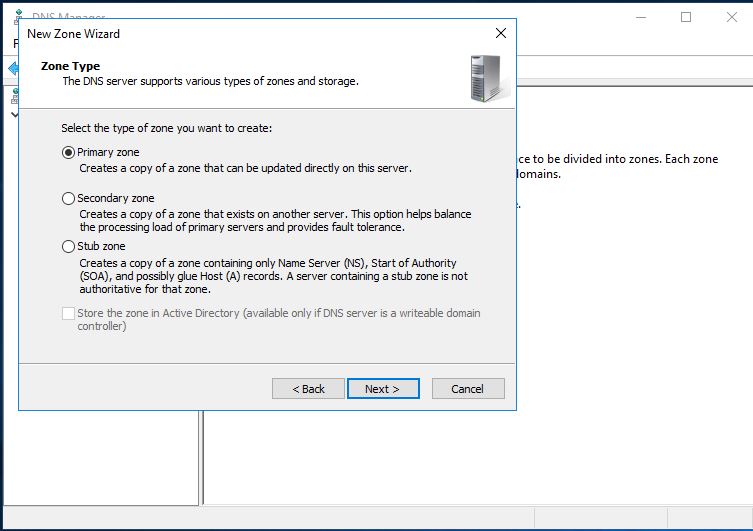
Close out all the dialogs and right click on the "Forward Lookup Zones" folder and select "New Zone"
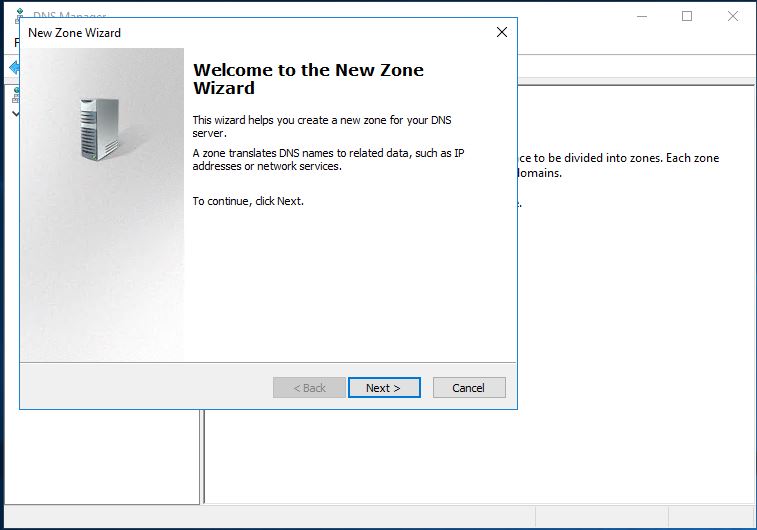
Click on the Next Button.
Select "Primary zone" and click on the Next button.
In zone name type:
cloud.onebox.dynamics.com
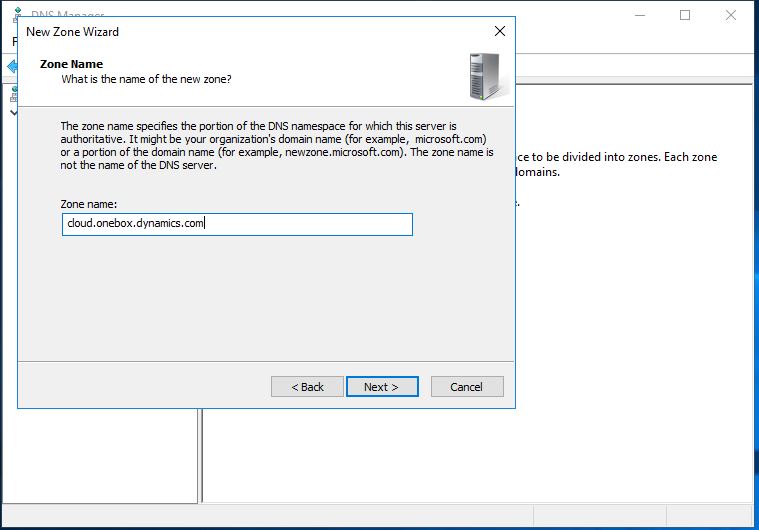
Click the Next button.
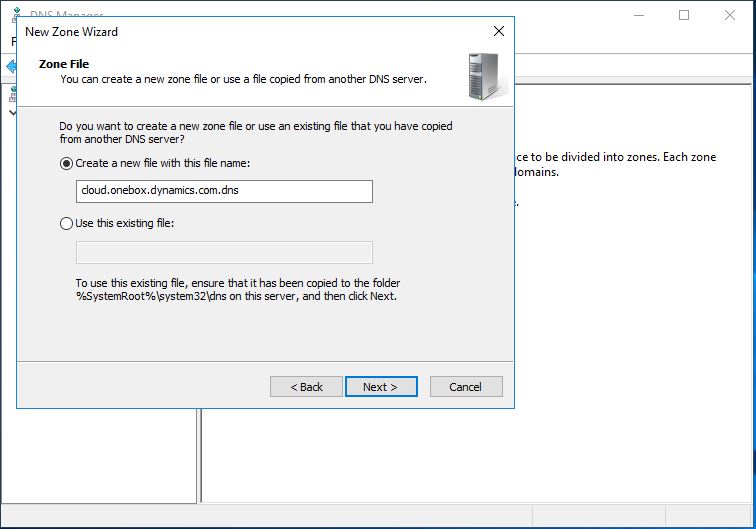
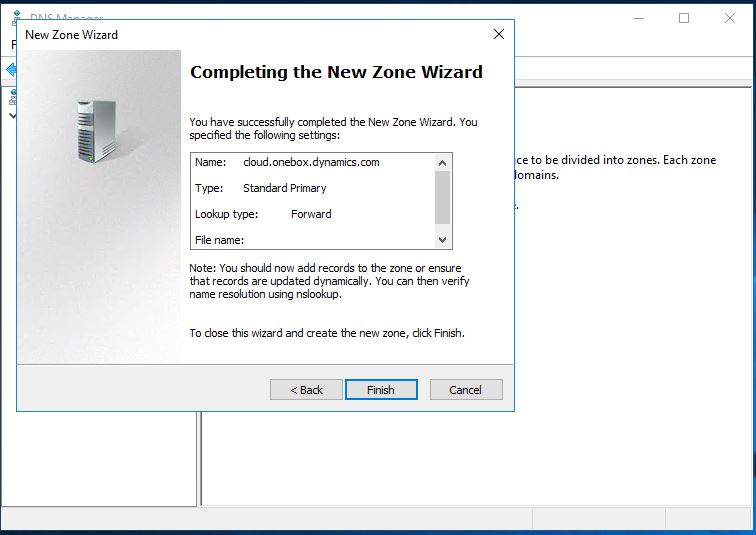
Leave the default selection "Create a new file with this file name" and click the Next button.
Leave the default selection "Do not allow dynamic updates" and click the Next button.
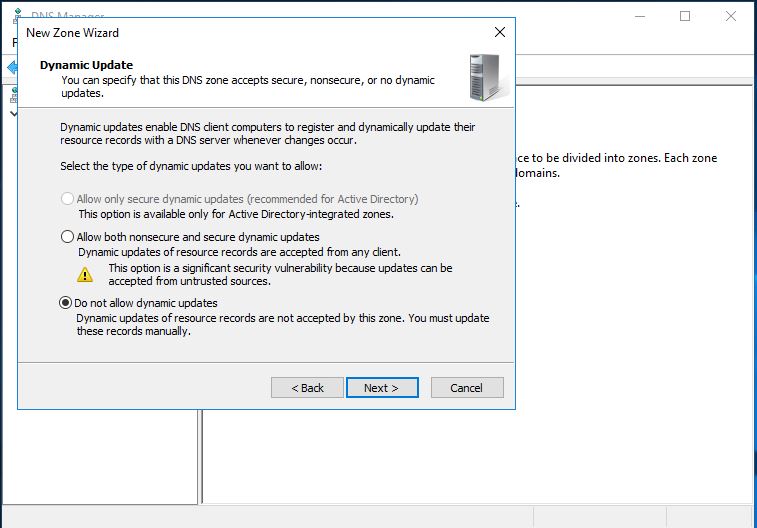
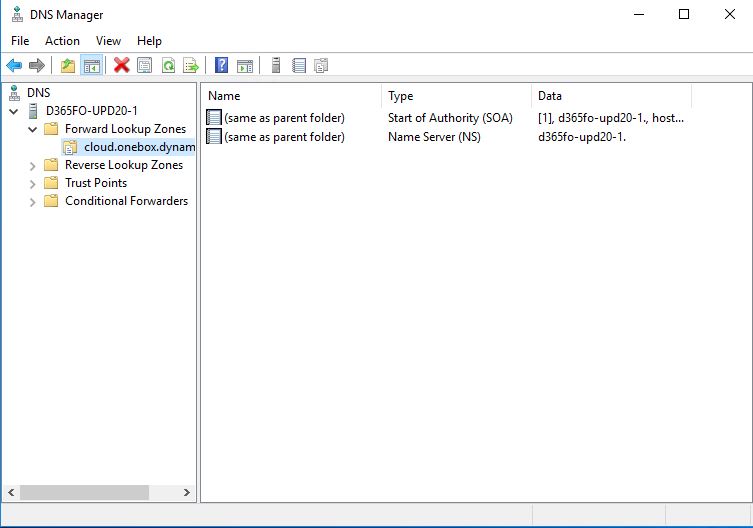
Click on the Finish button.
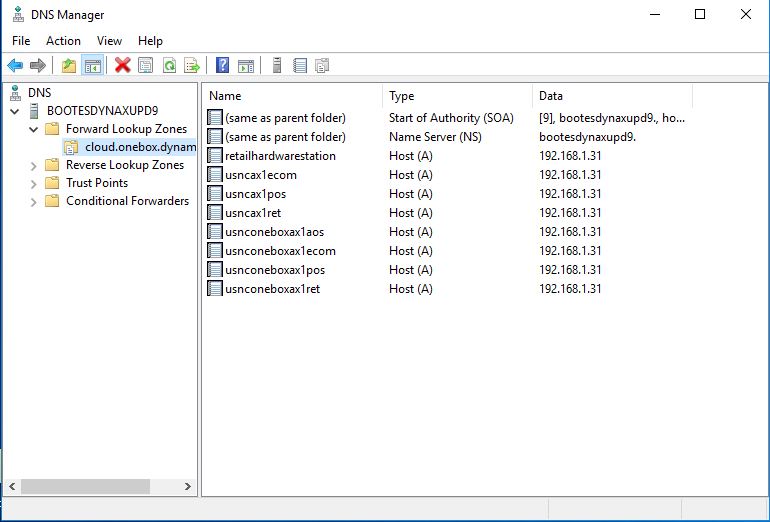
Now we must add A records for each one of the entries in the hosts file.
Right click on the cloud.onebox.dynamics.com folder and select "New Host (A or AAAA)"
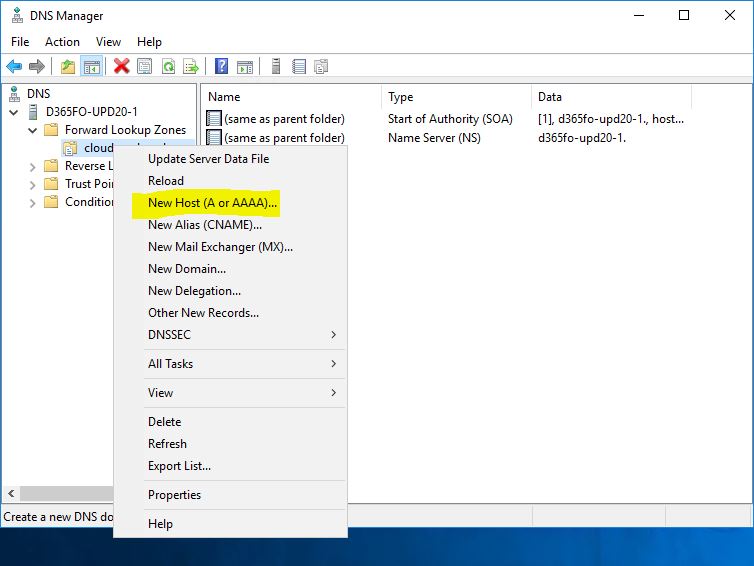
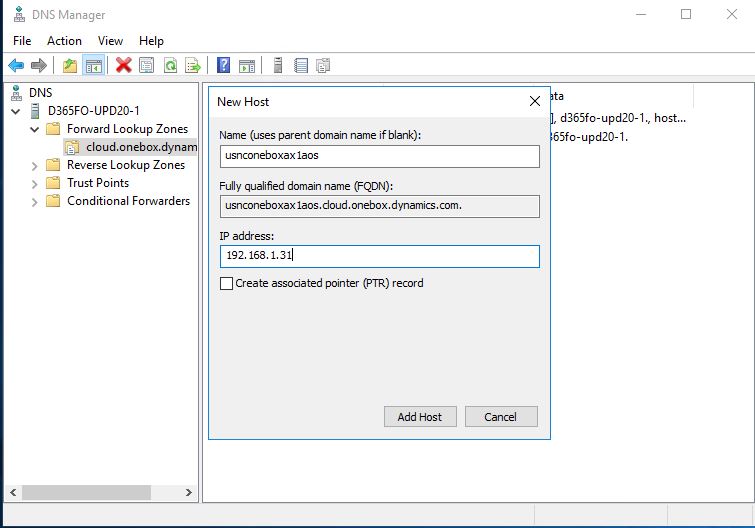
And once you've finished adding the 8 or so A records, your DNS is ready to be used.
Android Configuration
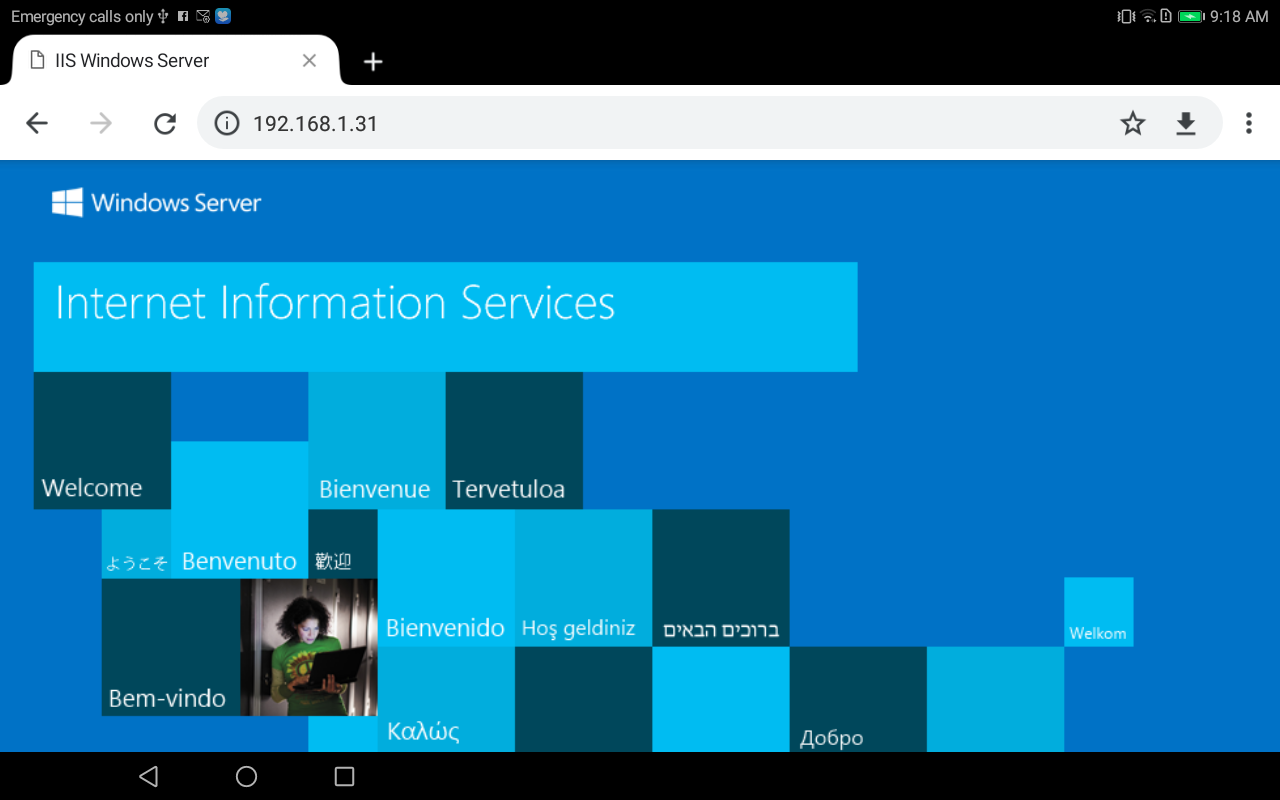
First you must make sure that you're connected to the one box VM by opening a web browser and typing the IP address (192.168.1.31 in my case) for your one box in the browser's navigation bar:
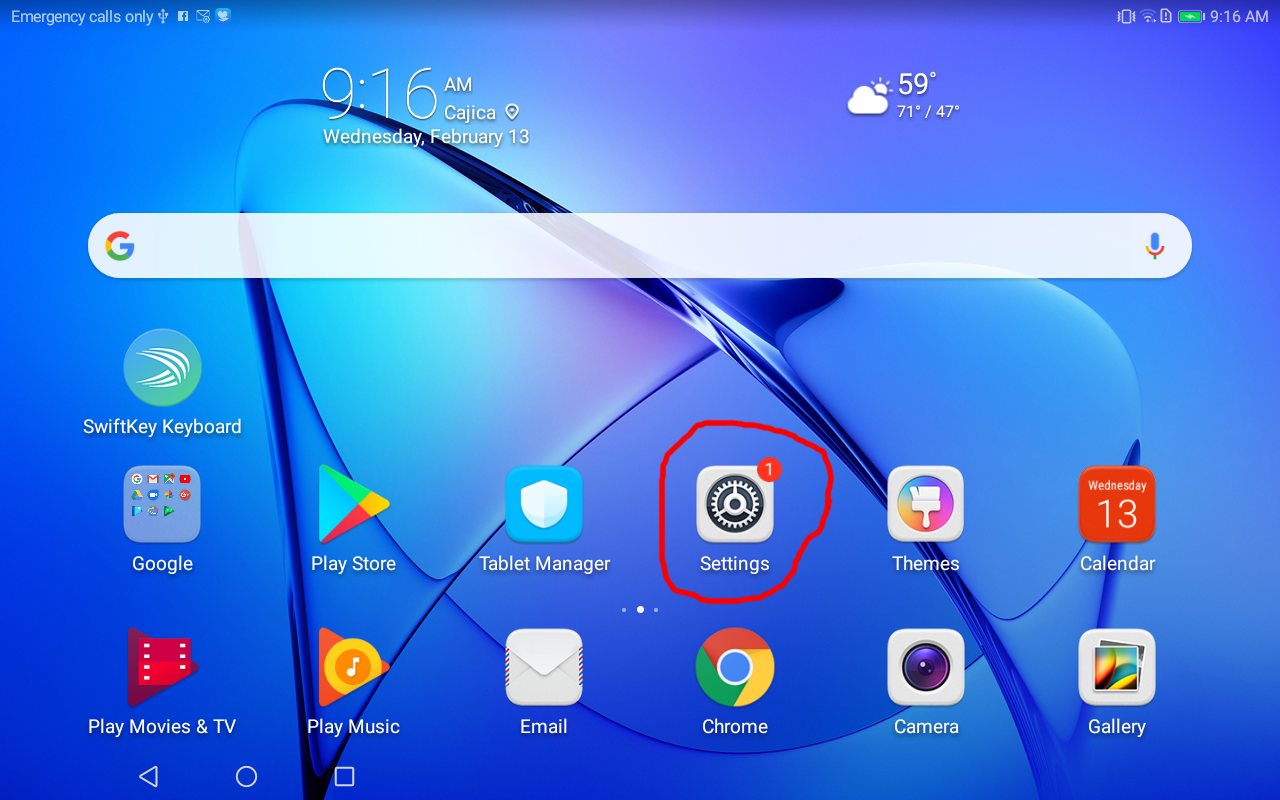
Go into the settings app:
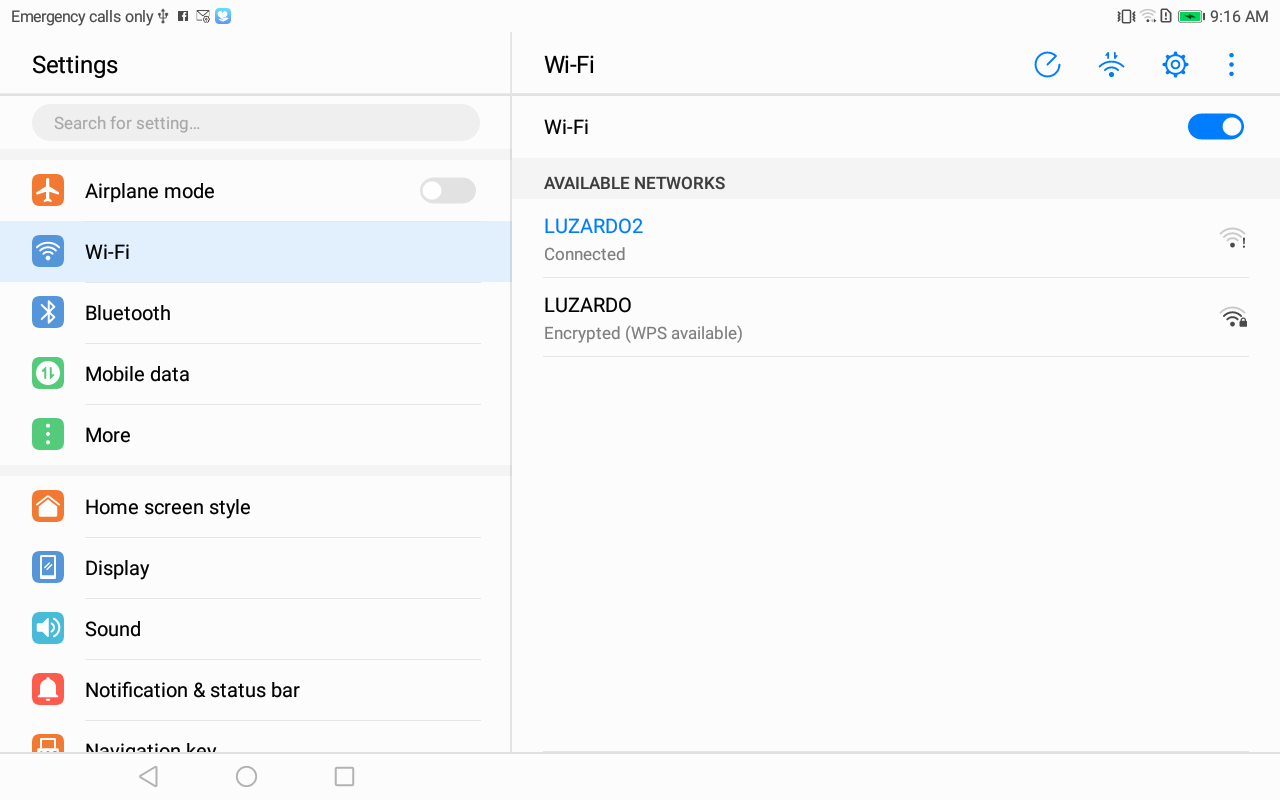
Select the Wi-Fi network you're connected to:
Tap and hold until you get this popup menu:
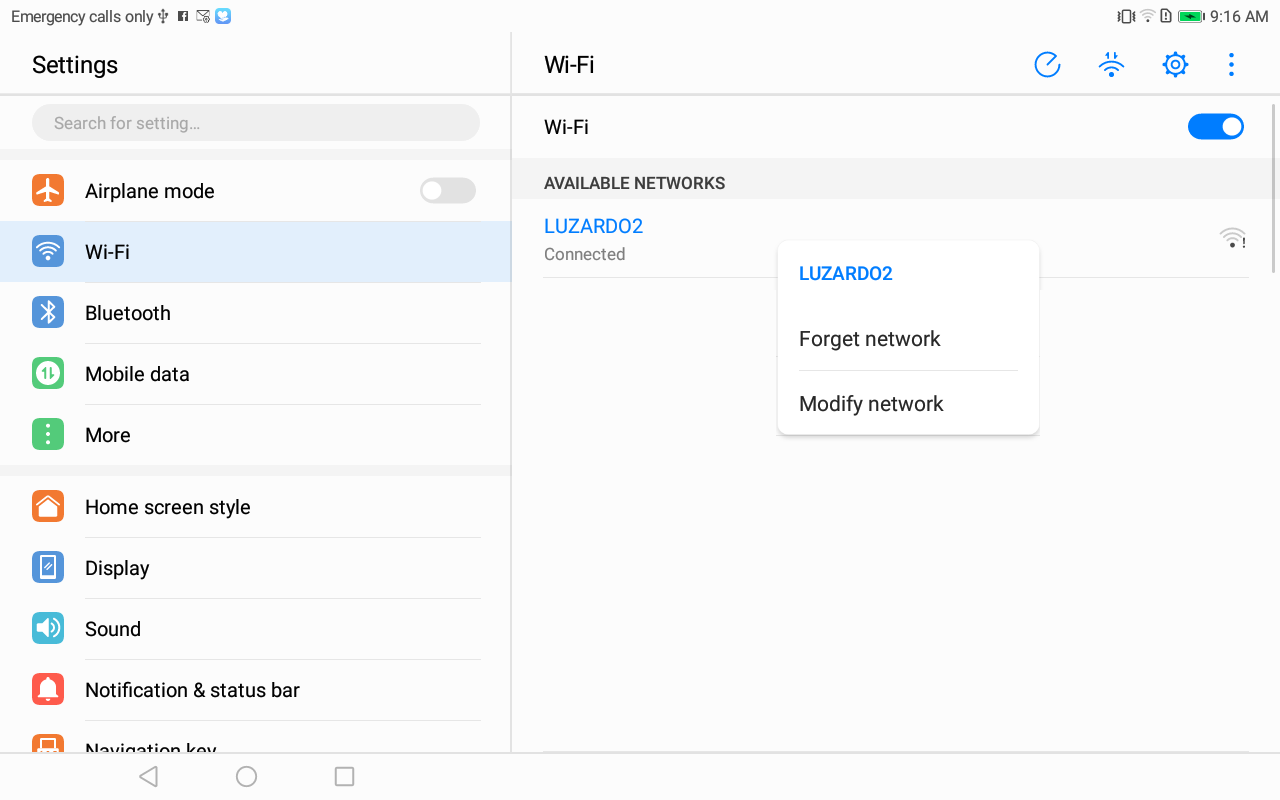
Click on Modify network
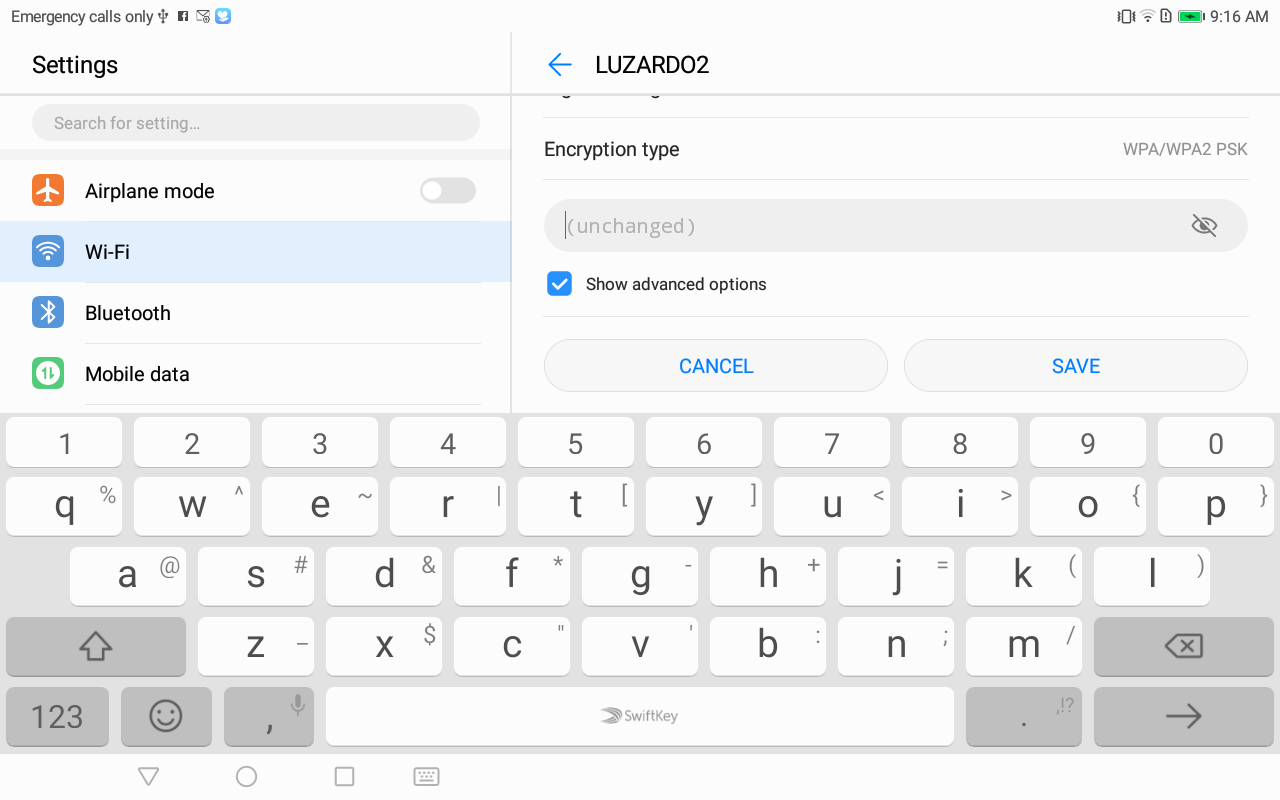
Mark the Show advanced options check box:
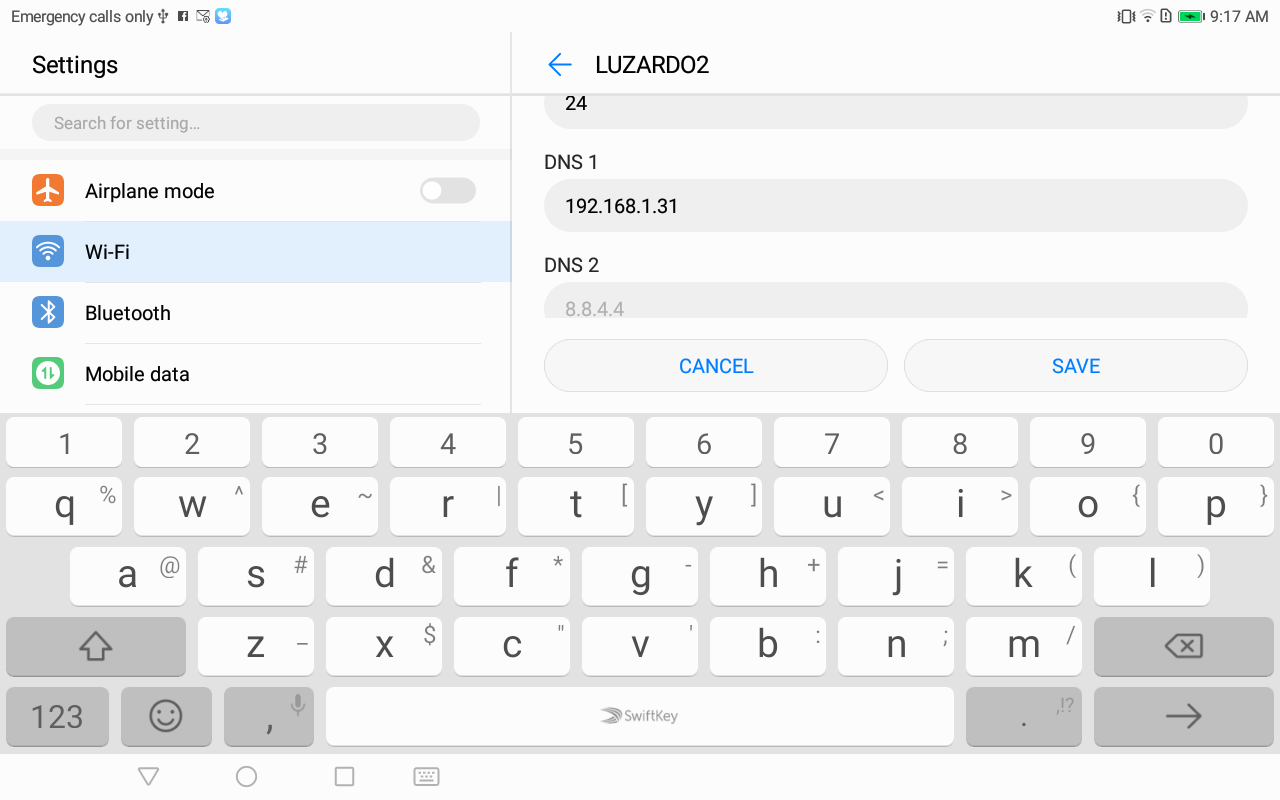
Scroll down until you find IP Settings
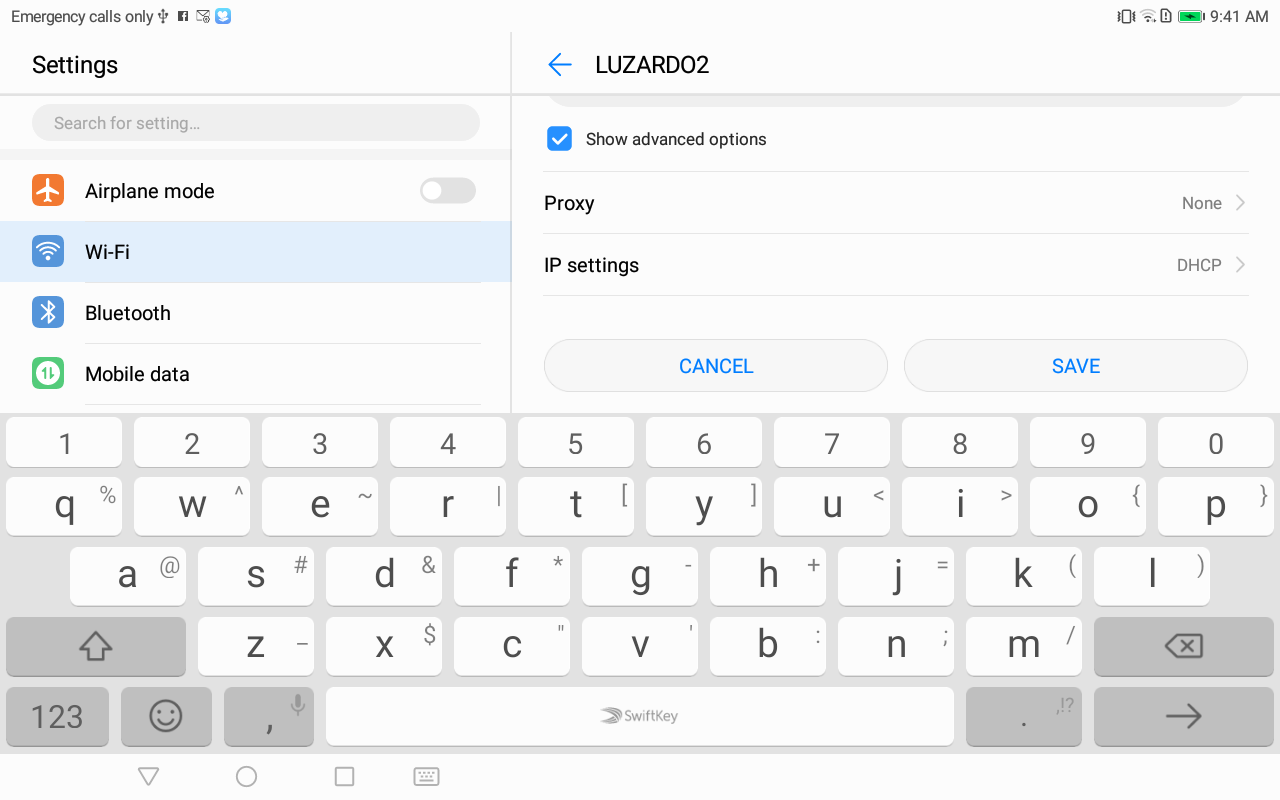
Tap on it and change it from DHCP to static
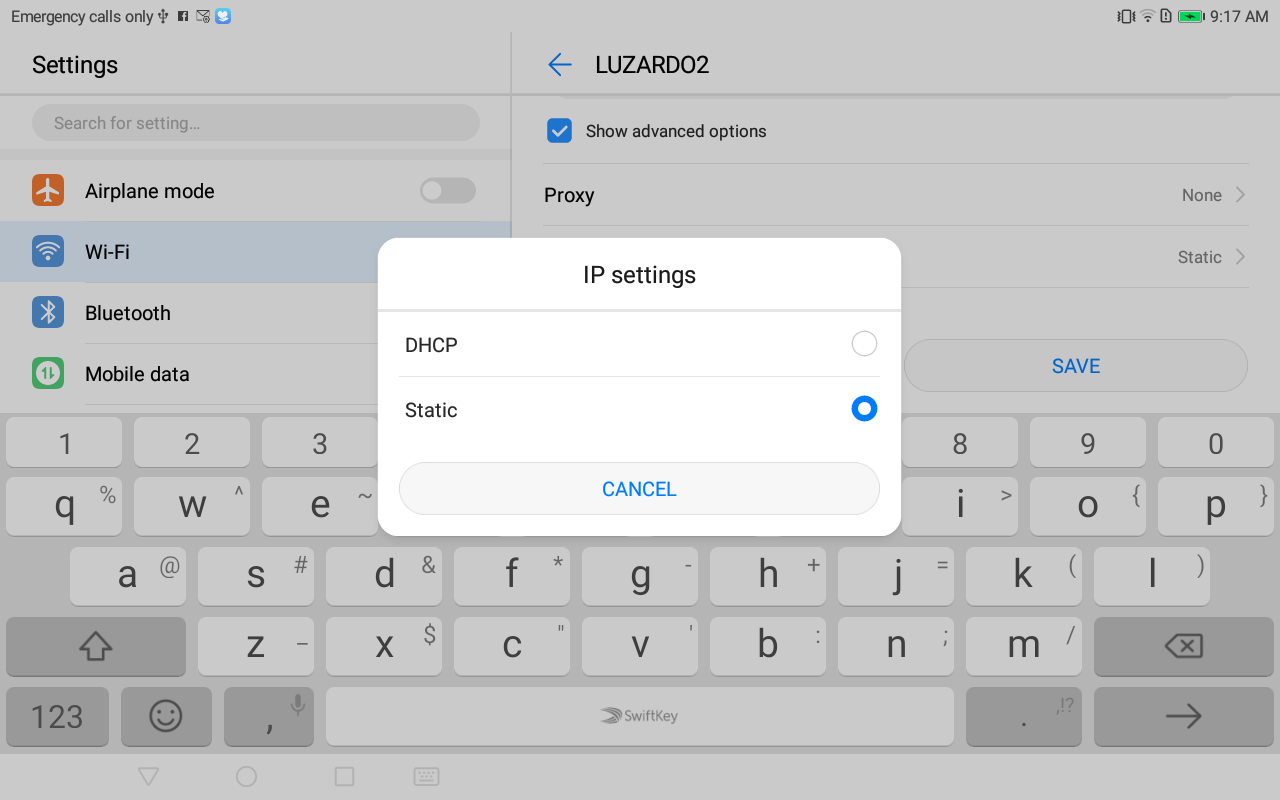
Scroll down until you find DNS 1 and change it to the IP address of your one box (192.168.1.31) in my case.
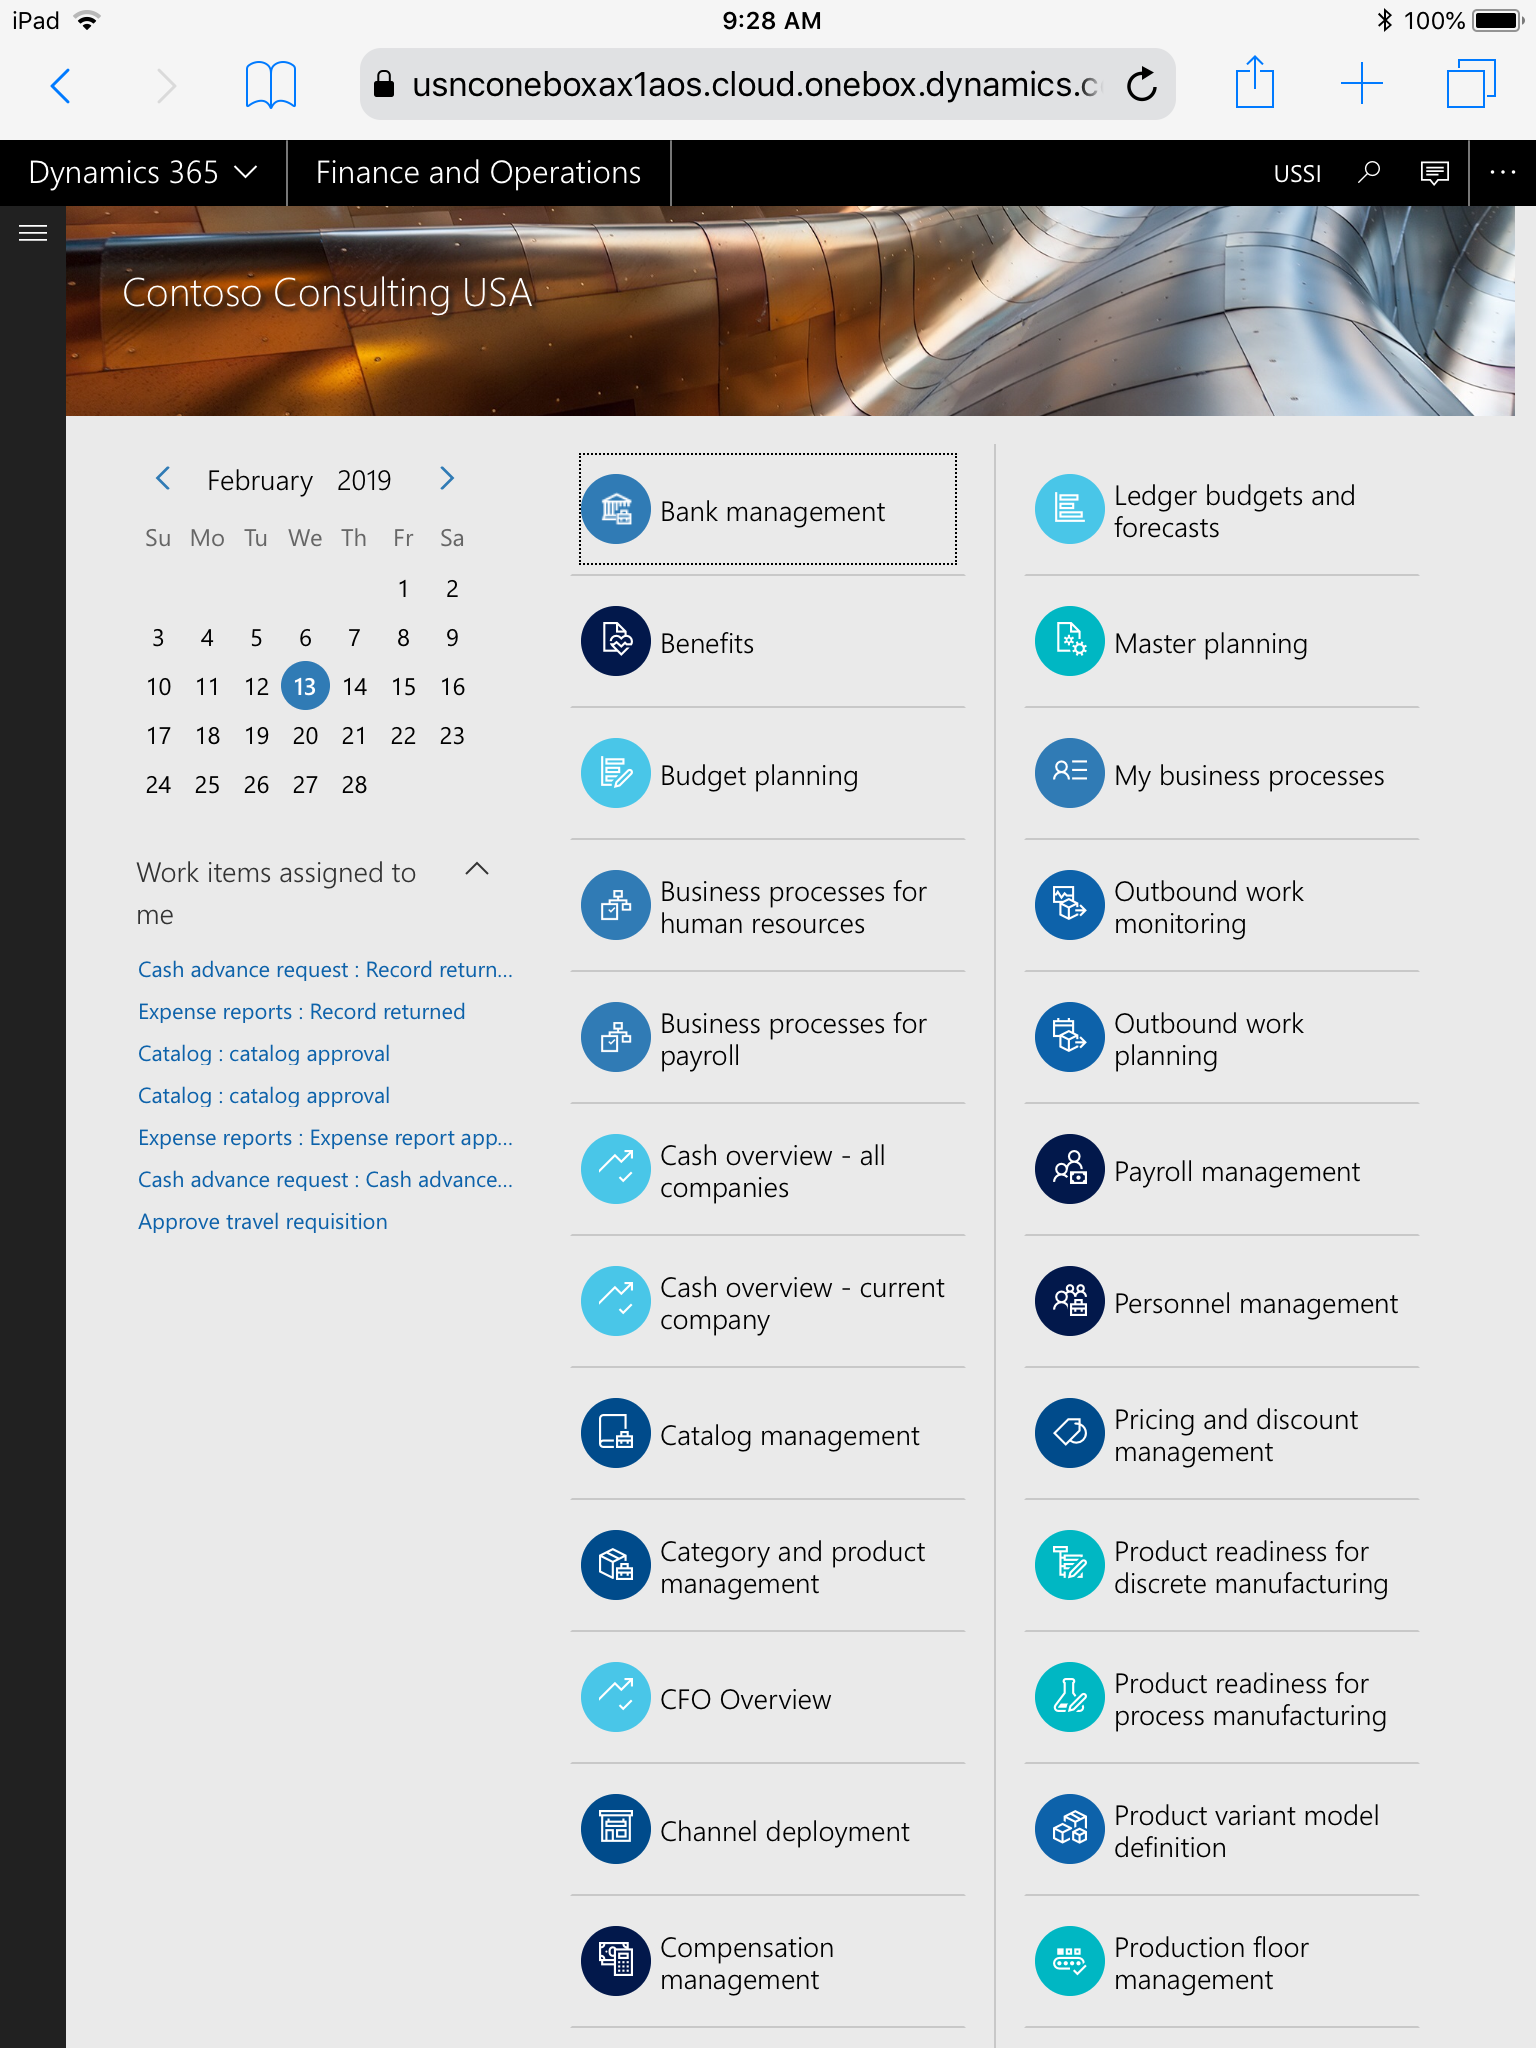
Open a browser window and navigate to:
https://usnconeboxax1aos.cloud.onebox.dynamics.com/
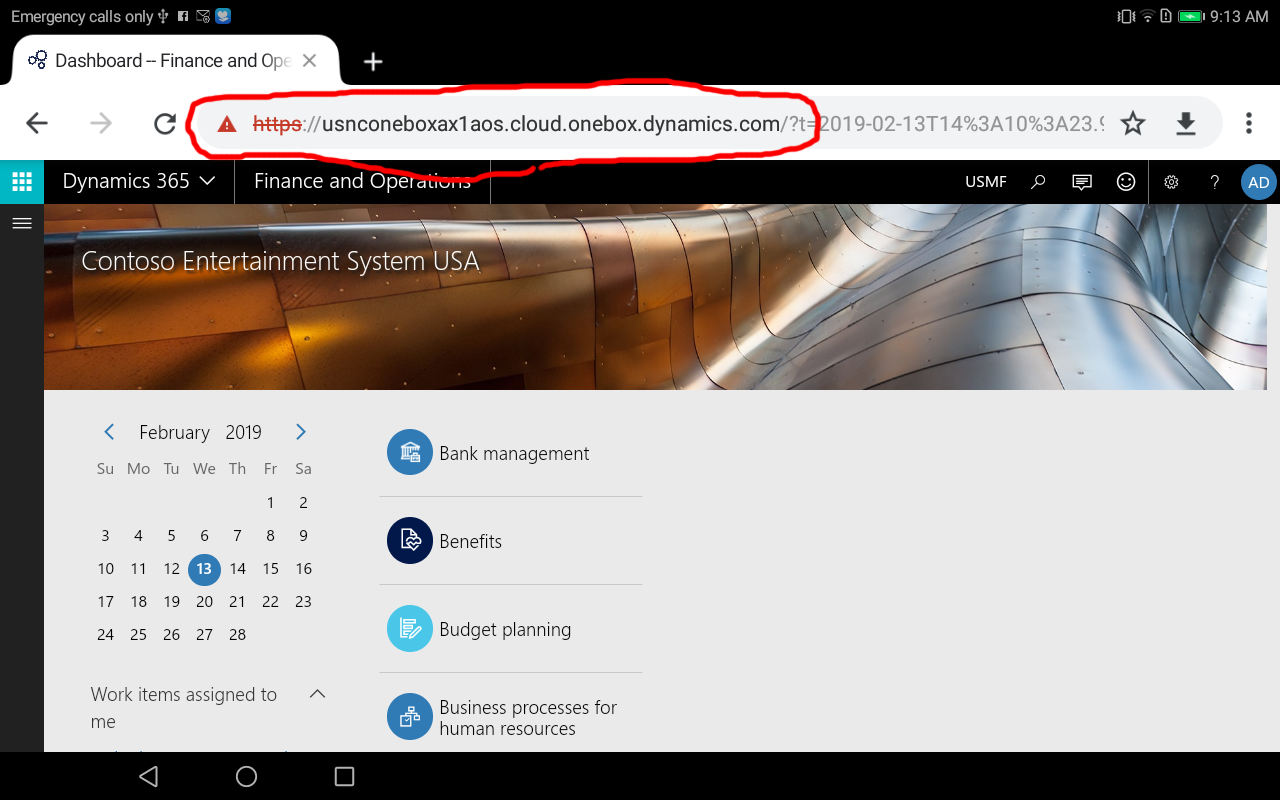
You will get some errors because the SSL certificate is not valid. Ignore them and continue to the site, depending on your browser the way to circumvent these errors is different. You will be asked to log on using your credentials. And then you will be able to access the D365fo environment.
iOS Configuration
Make sure you're connected by opening a browser and navigating to the IP address of the one box VM (192.168.1.31 in my case):

You should get an Internet Information Services IIS screen like the one above. Dynamics 365 for Finance and Operations is an IIS application and the one box environment has an active IIS service. If you can't see an IIS screen, it's because you have some sort of connectivity problem between your device and the one box.
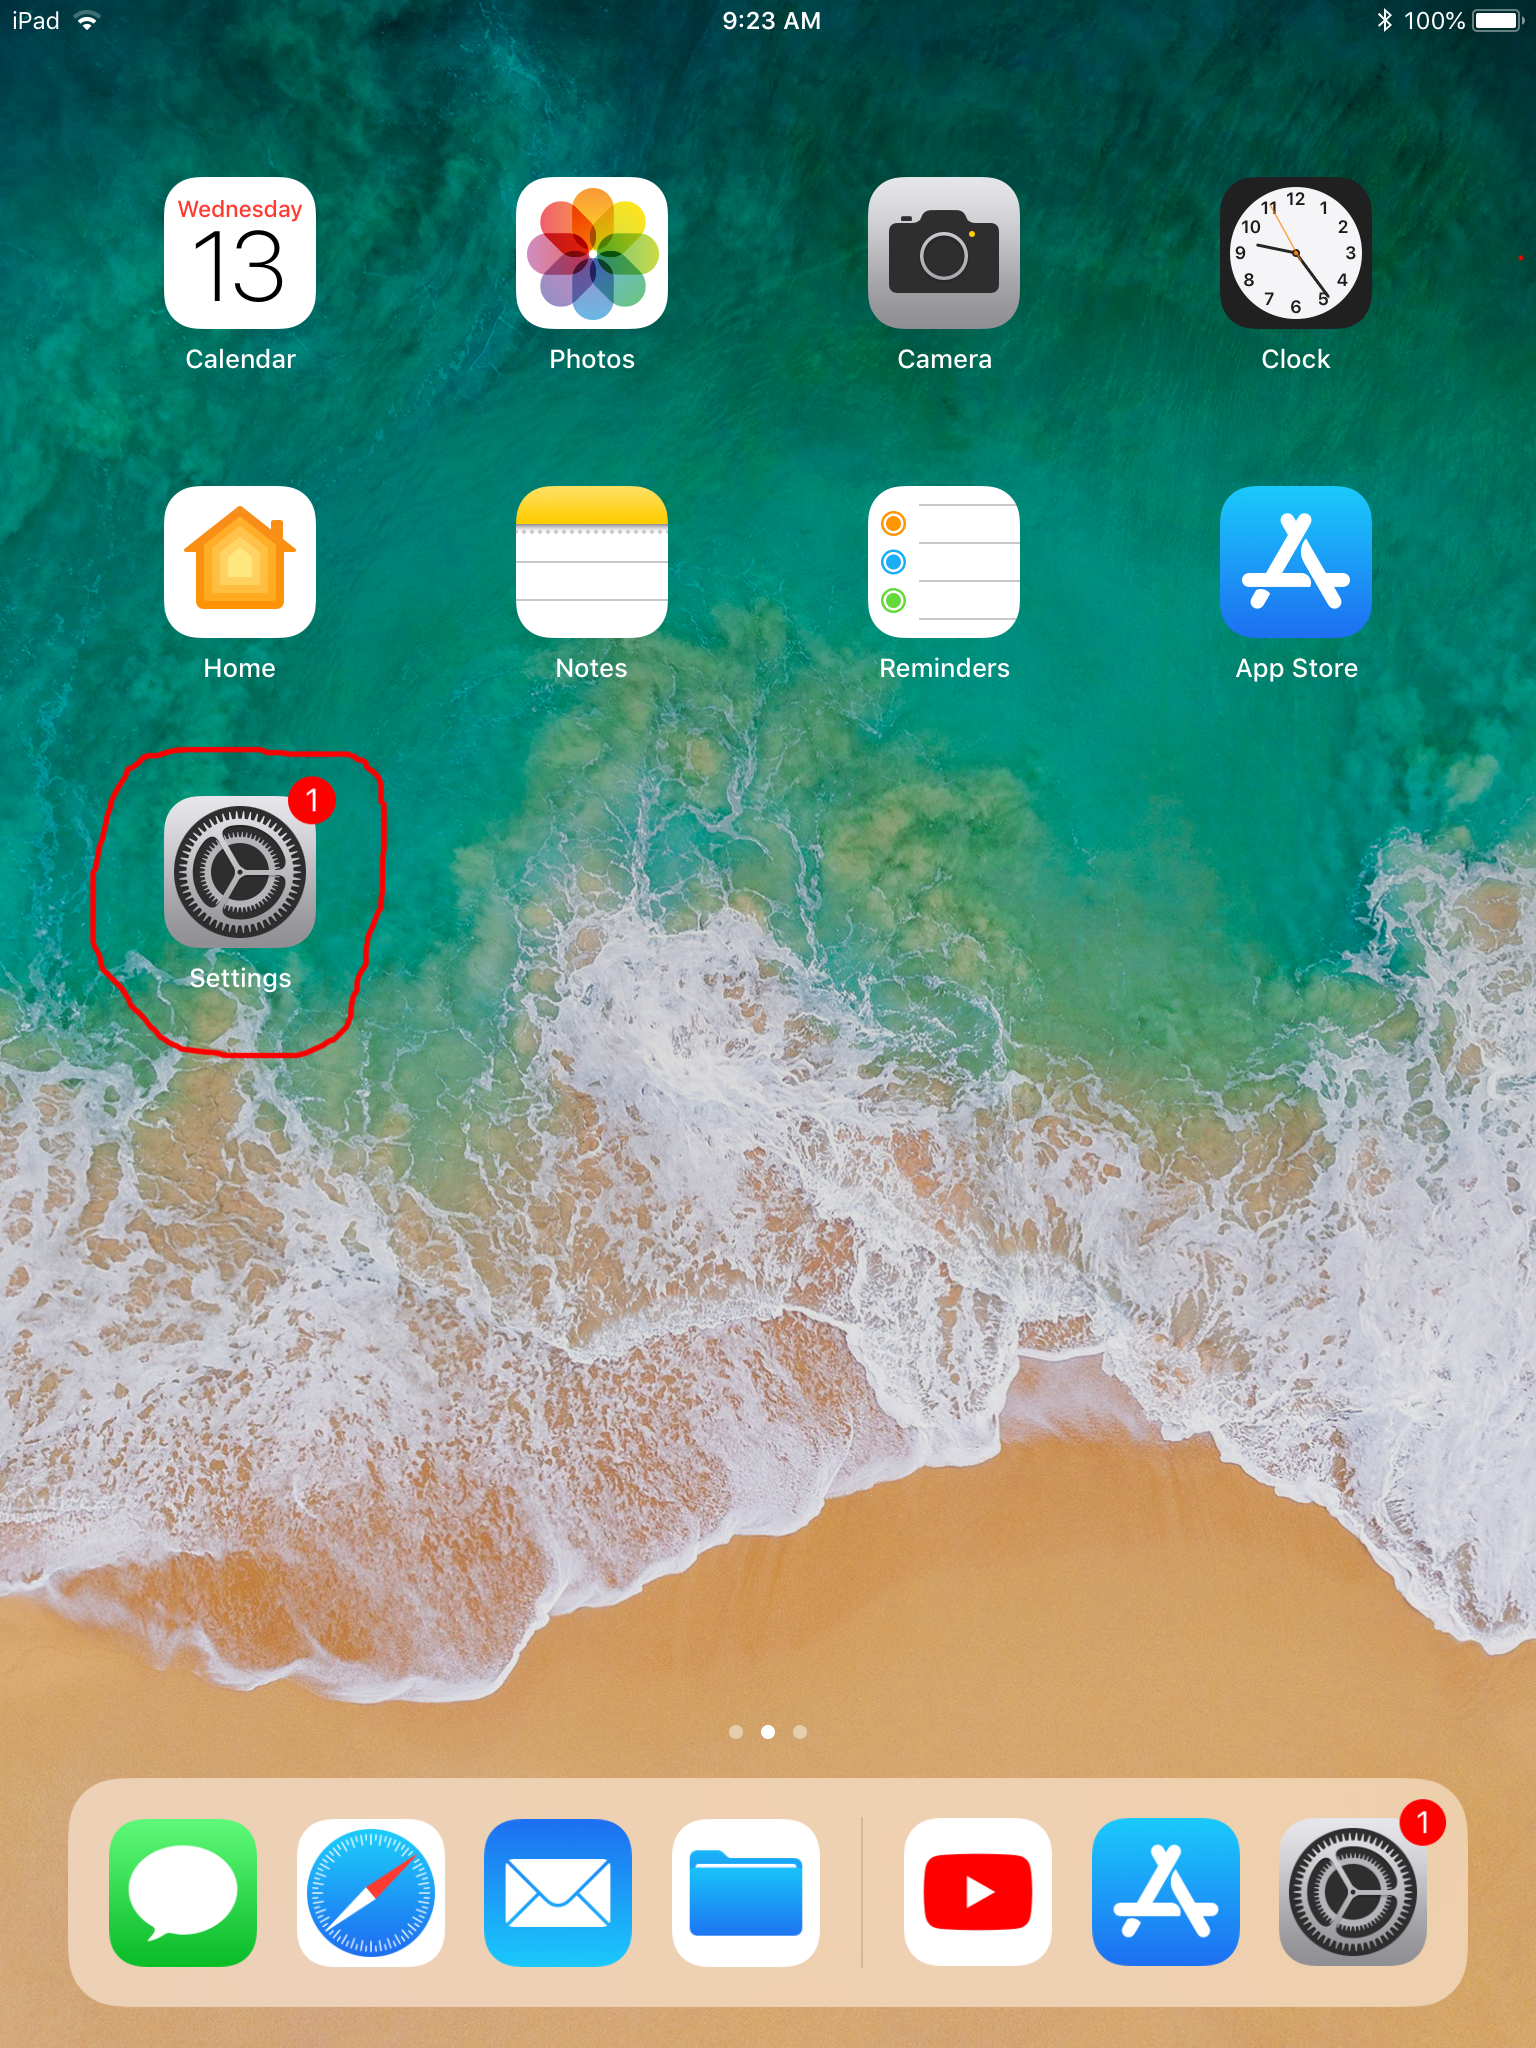
Go back to home and tap on settings:
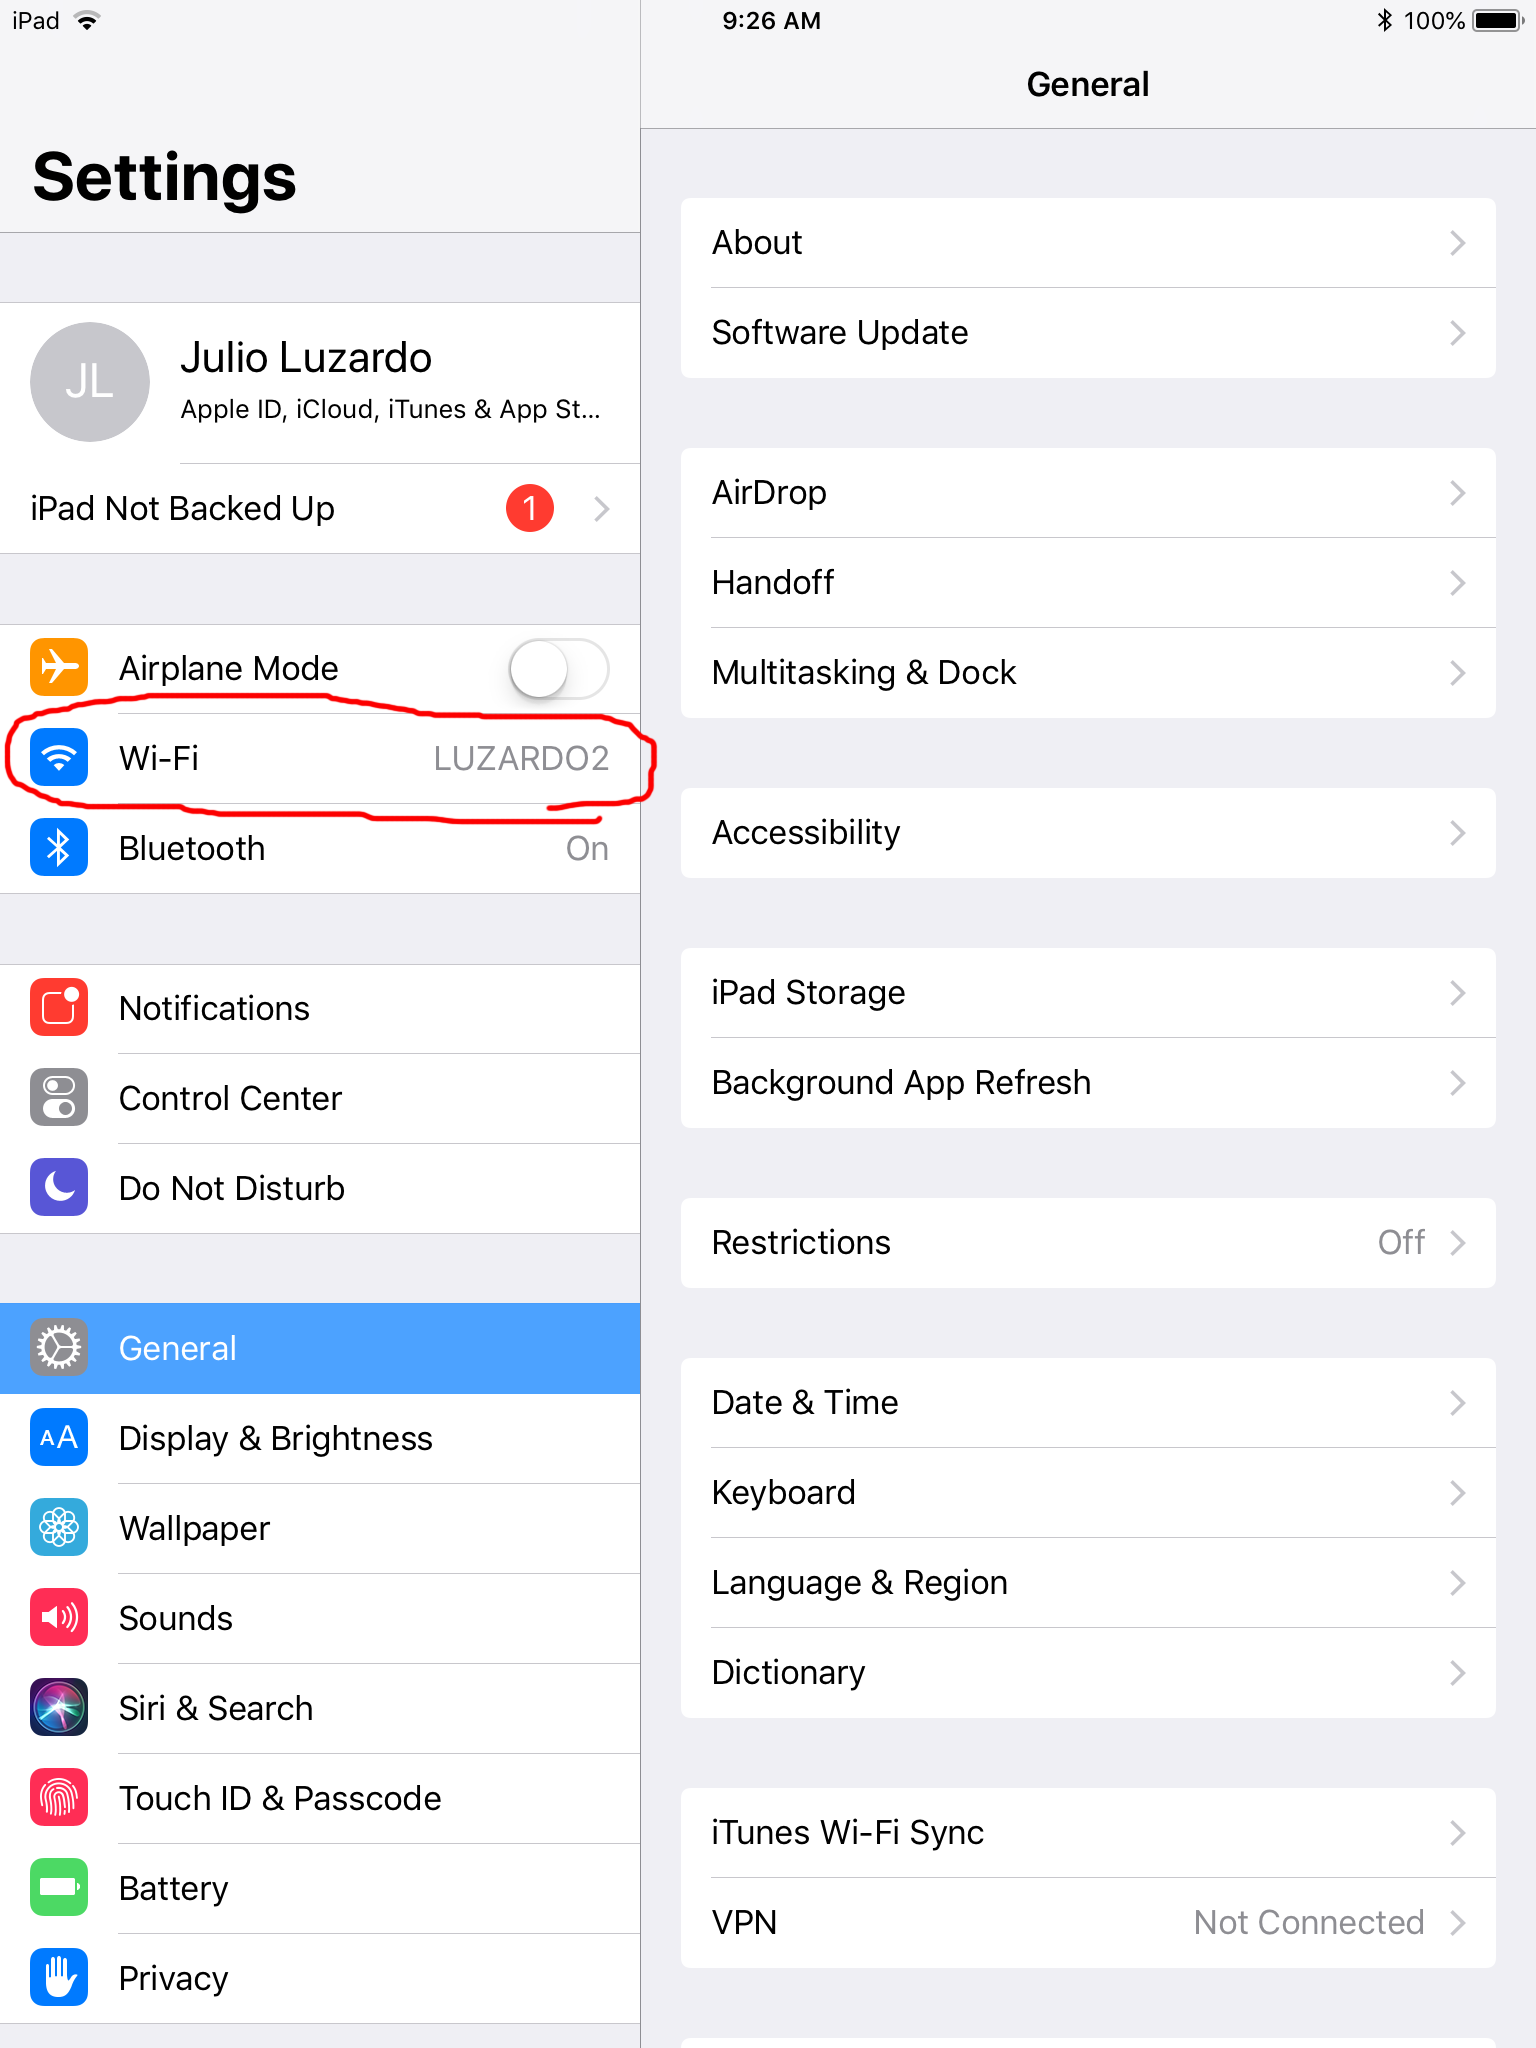
Tap on Wi-Fi:
Tap on the I icon of your Wi-Fi network:

Tap on Configure DNS:

Set it to manual and add the IP address of your one box (192.168.1.31 in my case).

Go back to a browser window, navigate to
https://usnconeboxax1aos.cloud.onebox.dynamics.com/
Ignore the SSL certificate warnings and log in using your credentials.